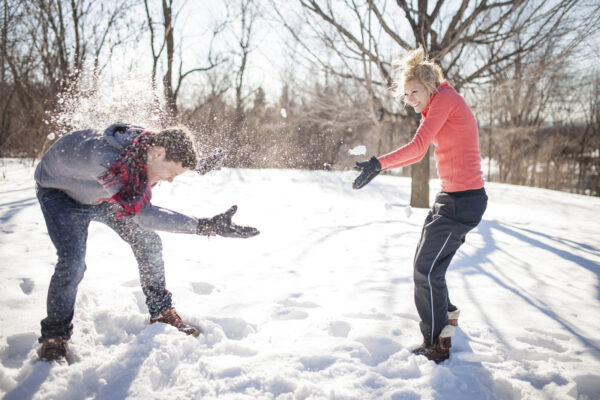
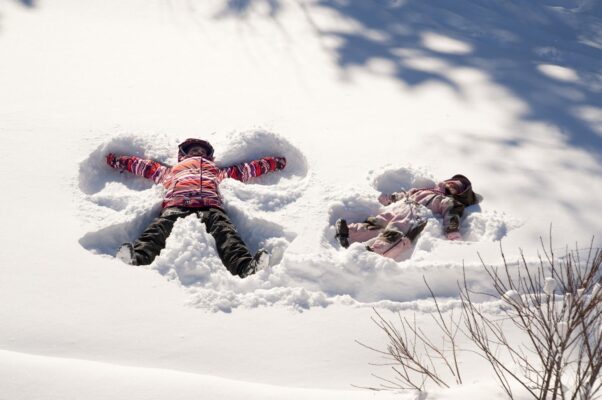
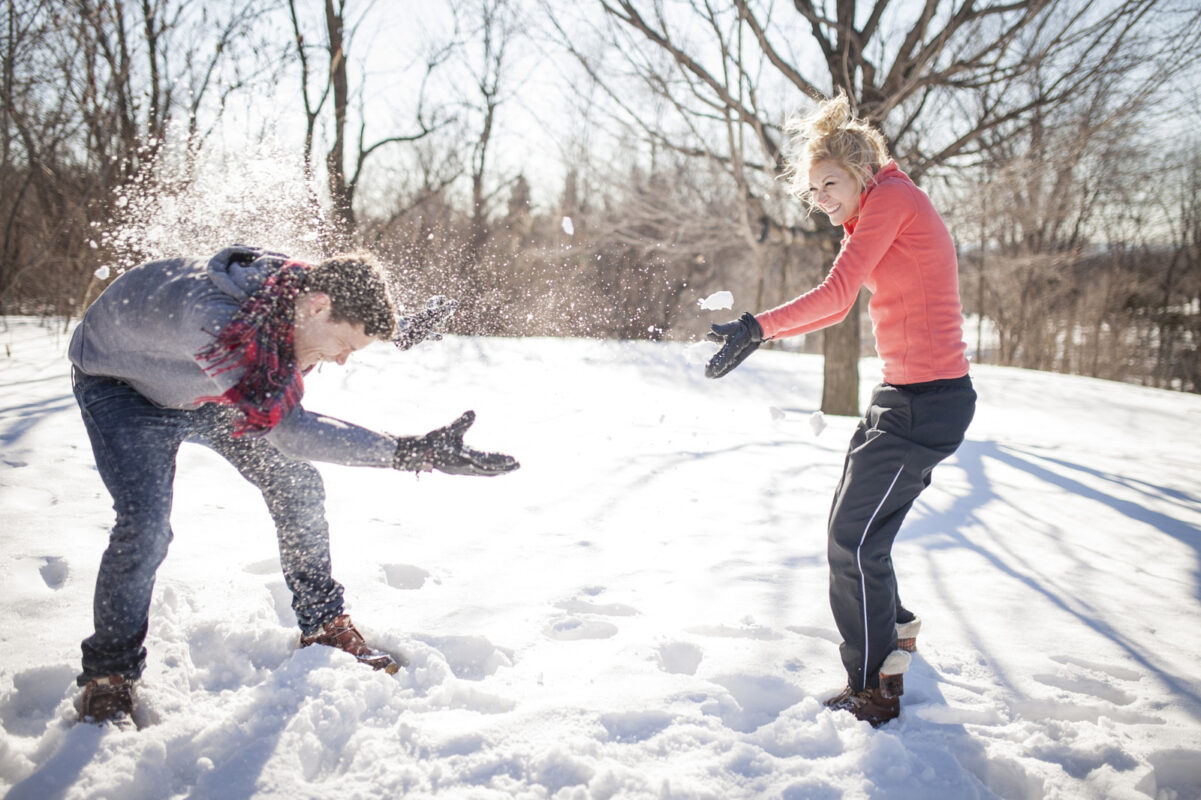
How to take pictures in the snow requires a blend of technical skills, artistic vision, and an understanding of how light interacts with reflective surfaces. Snow transforms landscapes into magical winter wonderlands but can also present unique challenges for photographers. Capturing the pristine beauty of snow-covered scenes calls for an understanding of exposure compensation, white balance adjustments, and creative composition strategies that bring out the best in every flake. In this guide, we will explore the various facets of snow photography, ensuring you are well-equipped to capture stunning images in the wintery terrain.

Understanding the Unique Challenges of Snow Photography
Taking pictures in the snow is not just about pointing your camera and clicking; it involves understanding the unique challenges posed by bright, reflective surfaces. The inherent brightness of snow can easily throw off your camera’s metering system, resulting in underexposed or overly bright images if you’re not careful. This section will delve into the core challenges photographers face when shooting in snowy conditions, along with solutions to overcome them.
The Impact of Brightness on Exposure
The bright landscape created by fresh snow can confuse your camera’s light meter. Most cameras are designed to evaluate scenes based on a middle gray tone, which means they might try to compensate for the brightness of snow by underexposing the shot.
To counteract this, you should consider using exposure compensation settings, adjusting them upwards to ensure the snow appears white and not gray in your photos. A good starting point is to increase the exposure by one to two stops, but you’ll want to review your images and make adjustments as needed.
Understanding your camera’s metering modes can also help. Switching from evaluative or matrix metering to spot metering allows you to measure the light reflecting specifically from the snow, giving you a more accurate reading of the brightness.
Overcoming White Balance Issues
Snow can also present significant challenges related to color temperature. Depending on the lighting conditions, snow can look blue or yellow due to the influence of ambient light.
To achieve the purest whites and avoid an unnatural tint, shoot in RAW format, which provides greater flexibility in post-processing. Adjusting the white balance settings on your camera can also help. For instance, setting your white balance to ‘shade’ can often yield warmer tones, whereas ‘daylight’ may create a cooler palette.
Understanding the color temperature and how it affects your images is crucial. Experimenting with custom white balance settings can yield varied results, allowing you to capture the scene accurately according to your artistic vision.
Embracing Dynamic Range in Snowy Landscapes
Snowy environments can have high contrast, producing stark shadows and bright highlights. This situation poses a challenge because the dynamic range of your camera may not be able to capture both extremes in one shot without losing detail.
Utilizing techniques such as HDR (High Dynamic Range) photography can help you manage this effectively. Taking multiple exposures of the same scene at different exposure levels allows you to blend them together in post-processing. To do this, use a sturdy tripod to keep your camera stable and maintain consistent framing between shots.
Experimenting with bracketing—capturing a series of images at varying exposures—can also assist in achieving balanced highlights and shadows. Post-processing software can then merge these images to produce a final photograph that retains detail across the spectrum.
Equipment Essentials for Snow Photography
When considering how to take pictures in the snow, having the right equipment can greatly enhance your overall experience and the quality of your images. Snowy conditions require specific gear to handle challenges such as cold temperatures, moisture, and unique environmental factors. Here, we’ll explore essential equipment that will set you up for success in your winter photography endeavors.
Camera and Lenses
While any camera can technically be used for snow photography, DSLRs and mirrorless cameras offer the most versatility and control. Look for models that provide good performance in low-light conditions and allow for manual settings, as these features will be beneficial in snowy environments.
Lenses play a crucial role as well; wide-angle lenses are fantastic for capturing expansive winter landscapes while telephoto lenses can isolate interesting details like frost-laden branches or distant mountain peaks. Having a standard zoom lens can add flexibility, making it easy to adapt to changing scenes.
It’s essential to consider weather-sealed options. Snow and moisture can cause havoc with sensitive electronics, so investing in a camera and lens that can withstand the elements is wise.
Tripods and Stabilizers
A sturdy tripod is indispensable for snow photography, especially during low-light situations such as dawn or dusk. Snow can create uneven surfaces, making it challenging to stabilize your camera without assistance.
Look for lightweight, durable tripods that are easy to carry but strong enough to hold your gear securely. Carbon fiber tripods may be a worthwhile investment as they provide strength while remaining lightweight. Additionally, consider a tripod with legs that can spread wider to adjust to uneven snow surfaces.
Protective Gear for Your Equipment
Keeping your camera gear protected is vital, as snow can melt and seep into your equipment, causing damage. Invest in protective rain covers or camera bags designed to keep moisture at bay. Additionally, lens hoods can minimize the risk of snowflakes landing on your lens during shoots.
Carrying microfiber cloths is helpful for wiping down lenses and removing moisture. It’s important to keep your gear dry during shoots, so regularly check your equipment and clean any snow or moisture buildup.
Warm Clothing and Accessories
As much as your photography gear needs protection, you must also prepare yourself for the cold. Dress in layers to stay warm, with moisture-wicking base layers, insulating mid-layers, and waterproof outer layers to shield against wind and precipitation.
Accessories such as gloves, hats, and scarves will keep you comfortable during long sessions outdoors. Consider investing in touchscreen-compatible gloves, allowing you to operate your camera without exposing your hands to the elements.
Planning ahead with the right equipment ensures you can focus on capturing captivating images without worrying about discomfort or damaged gear.

Techniques to Capture Stunning Snow Images
Now that we’ve explored foundational knowledge on how to take pictures in the snow and the necessary equipment, it’s time to dive deeper into the techniques that elevate your photography. Mastering various approaches will allow you to capture the magic of snowy landscapes in ways that stand out.
Composition Strategies for Snowy Scenes
Composition is a critical aspect of photography that significantly influences the visual appeal of your images. When working in snowy environments, certain strategies can enhance your compositions.
Consider utilizing leading lines, such as paths or fences, to draw the viewer’s eye deeper into the frame. The natural slopes of snowy hillsides or the arrangement of trees can serve as effective lines that invite exploration.
Incorporating foreground elements adds depth to your images, showcasing the vastness of the snowy landscape. This could be anything from sparkling icicles hanging from branches to textured snow patterns. These elements create layers and engage the viewer, inviting them to immerse themselves in the scene.
Balance is another key consideration. When photographing snowy scenes, aim to distribute visual weight evenly throughout the frame. This can be achieved through symmetry or asymmetrical arrangements that guide the viewer’s eye smoothly from one area to another.
Using Natural Light to Your Advantage
Natural light can transform your snow photography, adding dimension and drama to your images. Timing your shots for golden hour—shortly after sunrise or before sunset—can yield warm, inviting colors against the crisp whiteness of the snow.
Overcast skies are an excellent opportunity for soft, diffused lighting that minimizes harsh shadows. This type of lighting is particularly flattering for capturing textures in the snow and the subtle hues found in winter landscapes.
Experimenting with backlighting can create enchanting effects as sunlight filters through snowflakes or icy branches. You can achieve stunning silhouettes or halo-like glows that add a magical quality to your photographs.
Focus on Detail and Texture
Beyond wide landscapes, don’t forget to capture the intricate details that make snowy environments unique. Close-up shots of frost, snowflakes, or animal tracks can convey a sense of intimacy and connection to the winter landscape.
Using macro photography techniques enables you to highlight patterns in the snow or the delicate structure of individual snowflakes. A shallow depth of field can isolate your subject, drawing attention to its texture and form.
Paying attention to contrasting elements, such as vibrant red berries against white snow or dark tree trunks amongst the brightness, can create visually striking images that pop.
Experimenting with Long Exposures
Long exposure photography can be stunning in snowy conditions, providing a painterly effect that captures movement, such as flowing water in a frozen stream or the gentle sway of trees in the wind.
To achieve this technique, use a tripod to keep your camera steady and a remote shutter release or timer to avoid vibration during the shot. Neutral density filters can help reduce incoming light, allowing for longer exposures even during daylight hours.
Experimenting with different exposure times will yield varied results. Longer exposures result in smoother textures, while shorter exposure times freeze motion, creating sharp contrasts within the snowy environment.
Post-Processing Tips for Snow Photography
After taking beautiful photographs in the snow, post-processing is the final step in enhancing your images to truly reflect your artistic vision. This section discusses essential techniques and tips to refine your photos and bring out their full potential.

Editing for Exposure and Contrast
Adjustment of exposure and contrast is fundamental in post-processing. Start by evaluating your image’s histogram to understand the tonal range captured. If your snow appears too gray, consider increasing the exposure slightly and adjusting the contrast to accentuate the bright whites and deep shadows.
Utilizing adjustment layers in software like Adobe Lightroom or Photoshop allows for non-destructive editing. You can experiment with sliders until you find the perfect balance that showcases the beauty of the snowy landscape.
Be cautious with excessive adjustments, as they may introduce noise or artifacts. Subtlety is key in preserving the integrity of your original shot while enhancing its visual impact.
Color Correction and White Balance Adjustments
Even after careful white balance settings in-camera, post-processing may still be necessary to achieve the desired warmth or coolness in your snow images. Utilize the temperature and tint sliders to fine-tune the color balance in your photographs.
Start by assessing the overall feel you want to evoke. Warmer tones can create a cozy atmosphere, while cool tones may enhance the feeling of a snowy, brisk day.
Saturation and vibrance adjustments can also amplify the beauty of surrounding elements, such as bright red barns or evergreen forests peeking through the snow. However, be wary of oversaturation, as it can lead to unrealistic colors.
Noise Reduction and Sharpening Techniques
Snow photography often presents challenges with noise, particularly in areas of shadow or low-light conditions. Utilizing noise reduction tools in post-processing software can effectively minimize graininess while maintaining detail.
Applying selective sharpening can enhance textures in the snow and other subjects without affecting the entire image. Focus on areas of interest, such as the edges of snowflakes or sharp lines in the landscape, to create a polished, detailed look.
A keen eye for detail during the editing process ensures that your final images reflect the beauty you experienced while shooting.
Creating Atmosphere Through Effects
Post-processing allows for additional creative expression by incorporating atmospheric effects. Adding a subtle vignette can guide the viewer’s eye toward the center of your image, emphasizing the primary subjects.
Textures such as film grain or light leaks can evoke a nostalgic feel, transforming your photographs into works of art rather than mere documents.
Finally, consider applying presets or filters that complement your style. While it’s essential to maintain an authentic representation of the snowy landscape, these effects can add your personal touch and elevate your work to new heights.
Conclusion
Mastering how to take pictures in the snow is an art that combines technical skills with creativity and an appreciation for the unique beauty that winter brings. With the right understanding of exposure, equipment, composition techniques, and post-processing strategies, you can capture the serene and enchanting landscapes that snow creates.
As you venture out into the snowy world, remember to embrace the challenges it presents while finding joy in the artistry of photography. Each click of the shutter offers the opportunity to tell a story, evoke emotions, and showcase the stunning simplicity of a winter wonderland. So grab your gear, dress warmly, and let the magic of snow inspire your photographic journey!

